Your laptop is a tiny workhorse. It writes, streams, games, studies, and survives snack crumbs like a champ. But inside, the fan may be fighting a fluffy dust monster. A clean fan helps your laptop stay cool, quiet, and happy.
TLDR: Turn off your laptop, unplug it, and let it cool down. Clean the vents with short blasts of compressed air, and only open the laptop if you feel confident. Hold the fan still while cleaning so it does not spin too fast. If you see damage, liquid, or scary tiny parts, stop and call a pro.
Why Your Laptop Fan Gets Dirty
Your laptop fan pulls air through the machine. This air cools hot parts like the processor and graphics chip. That is good.
But air brings friends. Dust. Hair. Pet fur. Bits of lint. Maybe one crumb from that “quick snack” three months ago.
Over time, this junk builds up. It can block airflow. Then your laptop gets hot. The fan spins faster. The noise gets louder. Your laptop may slow down. It may even shut off to protect itself.
Cleaning the fan can help. It can make your laptop cooler and quieter. It can also help it last longer.
Signs Your Laptop Fan Needs Cleaning
Your laptop may be asking for help. It just does not speak human. Look for these signs:
- The fan is loud. It sounds like a tiny jet engine.
- The laptop feels hot. Especially near the keyboard or bottom case.
- It shuts down by itself. This can happen when it overheats.
- It runs slowly. Heat can make parts slow down.
- Dust is visible in the vents. That is the fan’s dirty laundry showing.
- The fan runs all the time. Even when you are doing simple tasks.
If you notice these things, a fan cleaning may help.
Before You Start: Safety First
This part matters. Laptops are small. Their parts are delicate. So move slowly. Be gentle. No rushing. No angry screwdriver energy.
Before cleaning, remember these rules:
- Turn the laptop off. Do not use sleep mode.
- Unplug the charger. Remove every cable.
- Let it cool. Wait 15 to 30 minutes.
- Work on a clean table. Not on a bed or carpet.
- Keep drinks away. Coffee is not a cleaning fluid.
- Use the right tools. Do not use knives or giant screwdrivers.
Important: Opening your laptop may void the warranty. Check first. If the laptop is new, expensive, or from work or school, ask the right person before opening it.
Tools You Will Need
You do not need a wizard kit. You just need a few simple items.
- Compressed air can or an electric air duster.
- Small screwdriver that fits your laptop screws.
- Soft brush, like a clean makeup brush or electronics brush.
- Microfiber cloth for wiping the case.
- Toothpick or plastic tool to hold the fan still.
- Small bowl for screws.
- Phone camera to take pictures as you go.
Do not use a vacuum inside the laptop. It can create static electricity. Static can damage electronics. Also, do not spray liquid cleaners into vents. That is a bad time waiting to happen.
Step 1: Shut Down the Laptop
Save your work. Close your apps. Shut down the laptop fully.
Do not just close the lid. Do not choose sleep. Your laptop should be completely off.
Once it is off, unplug the charger. Remove USB drives, mouse cables, memory cards, and anything else attached. If the battery is removable, take it out. Most modern laptops do not have removable batteries, and that is okay.
Step 2: Let It Cool Down
If your laptop has been hot, give it a rest. Let it sit for 15 to 30 minutes.
This protects you and the laptop. Hot parts can burn fingers. Warm plastic can also bend more easily. Let the little computer nap.
Step 3: Find the Air Vents
Look at the sides, back, and bottom of your laptop. You should see vent openings. These are the fan’s breathing holes.
Some laptops pull air from the bottom and push air out the side. Some push air out the back. Gaming laptops may have many vents. Thin laptops may hide them well.
Use a flashlight if needed. If you see dust clumps, congratulations. You found the enemy.
Step 4: Clean the Outside Vents First
This is the safest cleaning method. It does not require opening the laptop.
Hold the laptop at an angle. Take your compressed air can. Keep it upright. Use short bursts of air into the vents.
Use short bursts. One or two seconds is enough. Do not hold the spray down for a long time. The can may get cold and release moisture.
Blow air into one vent. Then blow from another angle. You may see dust fly out. This is good. It means the dust monster is losing.
If your fan starts spinning from the air, stop. You do not want the fan to spin super fast. That can damage it. Try to aim the air in shorter bursts.
Step 5: Wipe the Outside
Use a microfiber cloth to wipe the outside of the laptop. Clean around the vents. Remove dust that came out during the air blasts.
You can slightly dampen the cloth with water. But it should be barely damp. Not wet. Never let water drip into the laptop.
For stuck dust near vent slits, use a soft brush. Brush gently. Pretend you are brushing a tiny sleeping cat.
Step 6: Decide If You Need to Open the Laptop
Sometimes outside cleaning is enough. Sometimes it is not.
You may need to open the bottom cover if:
- The fan is still very loud after outside cleaning.
- The laptop still overheats.
- You can see thick dust inside the vent.
- You know the laptop has not been cleaned in years.
But opening a laptop is not always easy. Some have hidden screws. Some use clips. Some have delicate cables near the cover.
If you feel nervous, stop here. It is smart to ask a repair shop. There is no shame. The goal is a clean laptop, not a puzzle battle.
Step 7: Open the Bottom Cover Carefully
If you decide to continue, flip the laptop over. Place it on a soft cloth so the lid does not get scratched.
Find the screws on the bottom cover. Use the correct screwdriver. Press down gently and turn slowly.
Put the screws in a small bowl. Some screws may be different sizes. Take a picture before removing them. You can also place them on paper in the same pattern as the laptop.
After removing the screws, lift the bottom cover slowly. If it does not come off, do not force it. Check for hidden screws under rubber feet or stickers. But be careful. Removing stickers can affect warranty.
Some covers need a plastic pry tool. Use plastic, not metal. Work around the edge slowly. Listen for tiny clips releasing. Do not yank the cover off.
Step 8: Find the Fan Inside
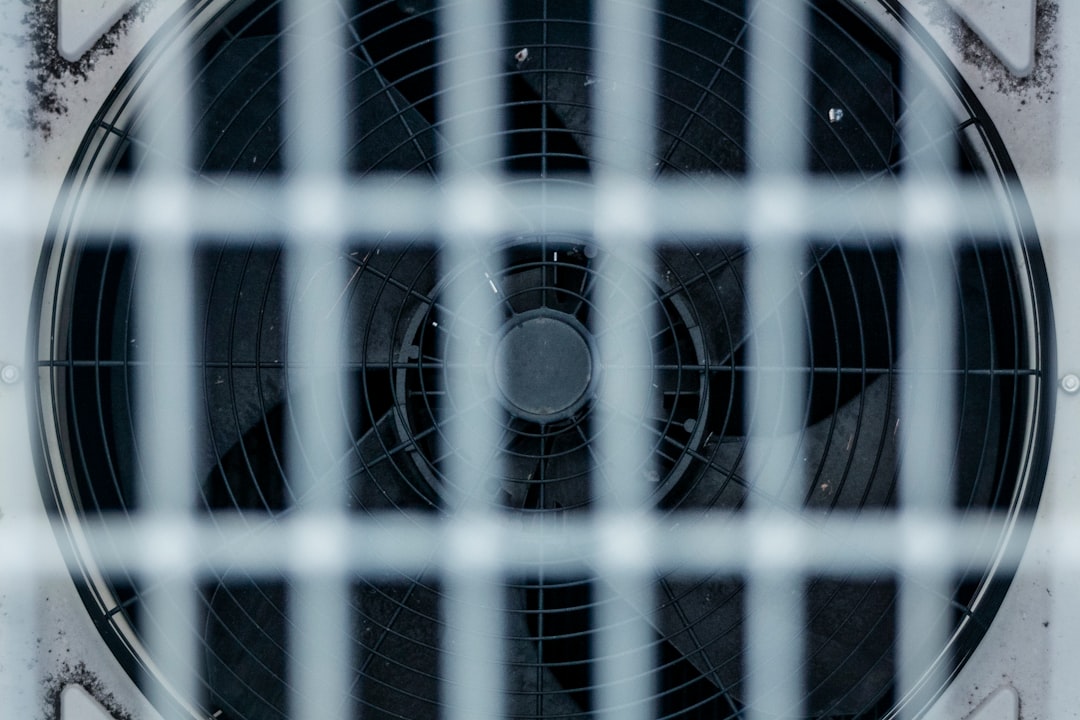
Once the cover is off, look for the fan. It is usually round and black. It may look like a tiny hamster wheel. It will be connected to a metal heat pipe or heat sink.
Do not touch random parts. Avoid the motherboard. Avoid cables. Your job is simple. Find dust. Remove dust. Leave the tiny city alone.
If you see a swollen battery, stop. A swollen battery may look puffy or bent. Do not press it. Do not poke it. Get professional help.
Step 9: Hold the Fan Still
This is very important.
Before using air inside the laptop, hold the fan blades still. Use a toothpick, plastic tool, or clean finger. Be gentle.
Why? Air can make the fan spin too fast. That can damage the fan bearing. It can also send voltage back into the system. That is rare, but still not your friend.
Hold the fan. Then use short bursts of air to blow dust away.
Step 10: Blow Dust Out of the Fan and Heat Sink
Use compressed air in short bursts. Aim at the fan blades. Then aim at the heat sink fins. These fins look like a tiny metal grill.
Try to blow dust toward the outside vents. That way, dust leaves the laptop instead of moving deeper inside.
If dust is stuck, use a soft brush. Brush lightly. Then use air again.
Do not spin the fan for fun. It may look cool. It is not a toy. The fan has one job, and that job is not becoming a carnival ride.
Step 11: Check Your Work
Look around the fan area. Check the vents. Check the heat sink fins. Most dust should be gone.
You do not need it to look brand new. You just want clear airflow. A little dust is normal. A fuzzy blanket of dust is not.
Make sure no tools are inside the laptop. Make sure no screws are hiding near the fan. Tiny screws love adventure. Do not let them go on one.
Step 12: Put the Cover Back On
Place the bottom cover back on the laptop. Press gently around the edges so clips snap into place.
Put the screws back in the correct spots. Do not over tighten them. Tight is good. Hulk tight is bad.
If a screw does not go in easily, stop. It may be in the wrong hole. Try another screw. Forcing screws can strip threads or crack plastic.
Step 13: Turn the Laptop On
Flip the laptop over. Plug it in if needed. Turn it on.
Listen to the fan. It may spin up at first. That is normal. After a few minutes, it should sound smoother and quieter.
Open a few apps. Watch how the laptop behaves. If it stays cooler and quieter, you did it. Give yourself a tiny medal. Or a cookie. Away from the keyboard, please.
What Not to Do
Some cleaning ideas sound helpful. They are not. Avoid these troublemakers:
- Do not use a hair dryer. Heat can damage parts.
- Do not use a vacuum inside. Static can harm electronics.
- Do not spray liquid into vents. Laptops dislike indoor rain.
- Do not force the cover open. Hidden screws may still be there.
- Do not remove the fan unless you know how. It may need thermal paste work.
- Do not clean while powered on. That is unsafe.
How Often Should You Clean the Fan?
For most people, clean the outside vents every three to six months. Open and deep clean the fan once a year if needed.
If you have pets, clean more often. Pet hair is fan glitter. It gets everywhere.
If you smoke near your laptop, dust can become sticky. Cleaning may be harder. The fan may need professional service.
If you use the laptop on blankets or beds, dust builds faster. Soft surfaces also block vents. Use a hard surface instead. A laptop stand is even better.
Tips to Keep the Fan Cleaner Longer
- Use your laptop on a desk or stand.
- Keep vents clear.
- Do not eat over the keyboard.
- Clean your desk often.
- Keep pets away from the laptop when possible.
- Use a cooling pad for heavy gaming or editing.
- Store the laptop in a clean bag.
A little habit can prevent a lot of dust. Your fan will thank you with sweet, quiet spinning.
When to Get Professional Help
Call a repair technician if the laptop still overheats after cleaning. Also get help if the fan rattles, clicks, or does not spin.
You should also ask for help if you see corrosion, liquid marks, broken cables, loose parts, or a swollen battery.
Some laptops need new thermal paste. That is the material between the processor and heat sink. Replacing it can help with heat. But it is more advanced than basic fan cleaning.
Final Thoughts
Cleaning your laptop fan is not magic. It is simple care. Turn it off. Use short bursts of air. Hold the fan still. Be gentle with every part.
Your laptop works hard for you. A clean fan helps it breathe. It can run cooler, quieter, and better. And that means fewer scary whooshes from the tiny jet engine under your keyboard.
So grab your tools. Clear your table. Fight the dust monster. Your laptop is ready for fresh air.


