If you’ve ever typed on a mechanical keyboard, you know the magic. The click. The clack. The tactile joy that makes every keystroke feel like a high-five from your fingertips. But buying one? That’s a quest. Fear not, adventurer. This roadmap will guide you through the world of mechanical keyboards in a fun, simple, and easy-to-follow format.
The Basics: What Is a Mechanical Keyboard?
Before anything else, let’s define what we’re talking about. A mechanical keyboard:
- Uses individual switches under each key
- Offers durability and reliability
- Gives that sweet, satisfying feedback
They’re not like rubber dome or membrane keyboards. Those are squishy and wear out faster. Mechanical ones are built to last and feel amazing.
Step 1: Know Your Switches
This is where your journey begins. Mechanical keyboards come with different switch types. These switches are the soul of the keyboard. They define how it feels and sounds.
There are three main categories:
- Clicky Switches: They go “click-clack” and are loud and proud. Examples: Blue or Green switches.
- Tactile Switches: They give a bump in the middle, but no loud click. Examples: Brown or Clear switches.
- Linear Switches: Smooth all the way down. No bump, no click. Just glide. Examples: Red or Black switches.
Not sure what you prefer? Try a switch tester. They’re small kits that let you sample different switches without buying a full keyboard.

Step 2: Pick Your Size
Mechanical keyboards come in all shapes and sizes. Choosing the right one depends on your needs and space.
Here’s a rundown:
- Full Size: Includes everything — alphanumerics, function row, arrow keys, numpad. Great for work and data entry.
- Tenkeyless (TKL): Drops the numpad. Saves desk space while keeping most keys.
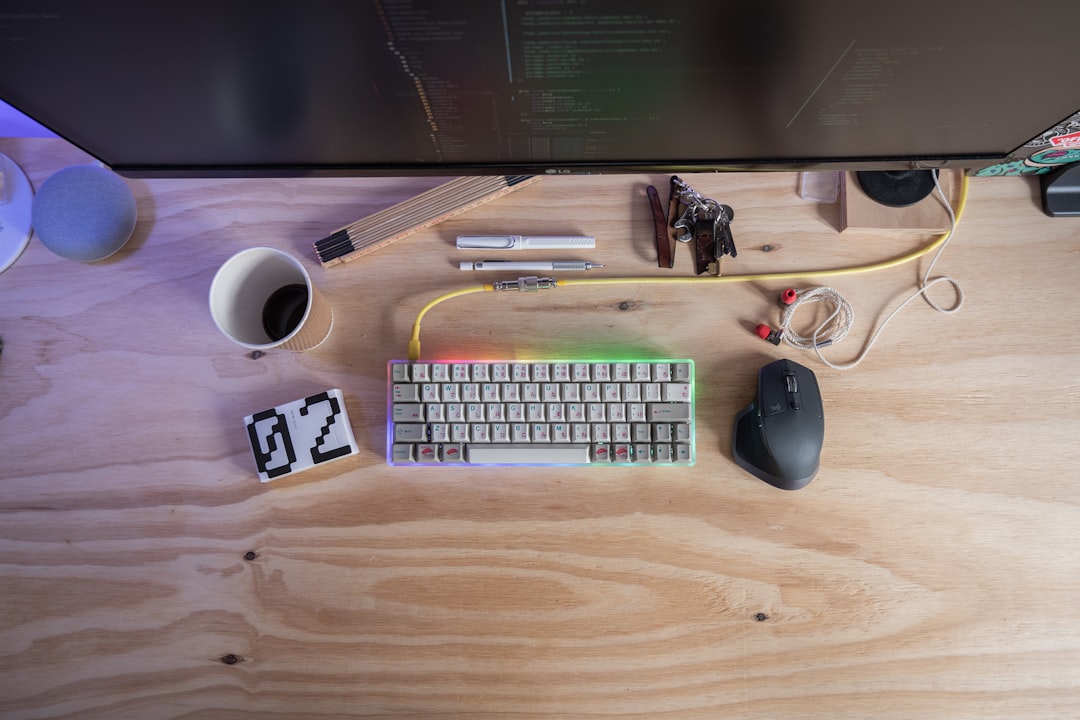
- 75%: Compact with no gaps, but keeps the arrows and function key row.
- 65%: No function row. Keeps arrows. Ultra compact and stylish.
- 60%: No arrows, no F-keys. Just letters and numbers. Great for minimalists.
Want portability? Smaller is better. Do you enter lots of numbers all day? Stick with full size. It’s that simple.
Step 3: Understand the Build
Now let’s talk materials. Keyboards aren’t just plastic blocks. The materials matter. A lot.
Case Material:
- Plastic: Lightweight, affordable, and totally fine for most users.
- Aluminum: Heavier and stronger. Feels premium, looks sleek.
- Acrylic or Wood: Stylish choices. For those who want something unique.
Keycaps:
- ABS: Cheaper, wears out faster, can shine over time.
- PBT: More durable and textured. Popular with keyboard fans.
Pro tip: Look out for double-shot or dye-sub keycaps. The legends won’t fade, even after years of typing rage.
Step 4: Wired or Wireless?
This one’s easy.
- Wired: No latency. No battery. Simple and stable.
- Wireless: Clean setup. Mobility. Less clutter.
Gamers usually prefer wired for zero lag. Office heroes love the clean look of wireless setups.
Step 5: Features, Features, Features!
Time to spice things up. These features can make or break your keyboard experience:
- Hot-swappable switches: Swap switches without soldering. Perfect for trying new ones.
- RGB Lighting: Is it a keyboard or a light show? You decide.
- Macro support: Record key sequences for quick tasks or gaming glory.
- Programmable keys: Customize layout to match your workflow.
- Sound dampening: Want a quieter board? Look for foam-filled cases or o-rings.

Not every keyboard has all features. Decide what you can’t live without.
Step 6: The Vibe – Looks Matter!
Your keyboard is part of your desk. It’s gotta look good. Luckily, there’s a style for everyone:
- Minimalist: Clean white, no RGB. Just classy vibes.
- Gamer: Angular design, full RGB, maybe even a unicorn horn.
- Retro: Old-school beige with typewriter feels.
- Custom artisan: Handmade keycaps with cats or food shapes. Yes, really.
Want to match your keyboard to your anime mousepad? You can. Want it to glow like a spaceship? You got it.
Step 7: Budget Like a Boss
Mechanical keyboards aren’t always cheap. But there are options for every wallet.
- Entry-level ($30–$80): Brands like Redragon and Keychron offer solid beginner boards.
- Mid-range ($80–$150): Better materials, more features. Great balance of price and performance.
- High-end ($150+): Premium builds, hot-swap options, custom kits galore.
Remember: you’re investing in something you’ll use every day. For work, games, or endless meme browsing—it’s worth it.
Step 8: Try Before You Buy
If you can, test some keyboards. Go to a tech store. Attend a local keyboard meetup. Ask a friend who owns one.
Typing feel is personal. What one person loves, another might hate. Trust your fingers.
Bonus Level: Go Custom!
For the brave and crafty, there’s the world of custom keyboards. Build it all yourself. Switch by switch. Keycap by keycap. Even the PCB and firmware.
It’s time-consuming. Not cheap. But insanely fun.
Why go custom?
- Total control over looks and feel
- Learn new skills (hello soldering!)
- Join a passionate, creative community
But don’t stress! You can still buy amazing pre-built boards if custom isn’t your thing (yet).

Final Thoughts: Your Keyboard, Your Rules
Remember, the best keyboard is the one that fits you.
That could be a whisper-quiet 60% board with a pastel theme. Or a thundering RGB beast with blue clicky switches.
The world of mechanical keyboards is like a candy store. Explore. Experiment. Enjoy.
And once you get your perfect board? Get ready to type like never before. Your fingers will thank you.


