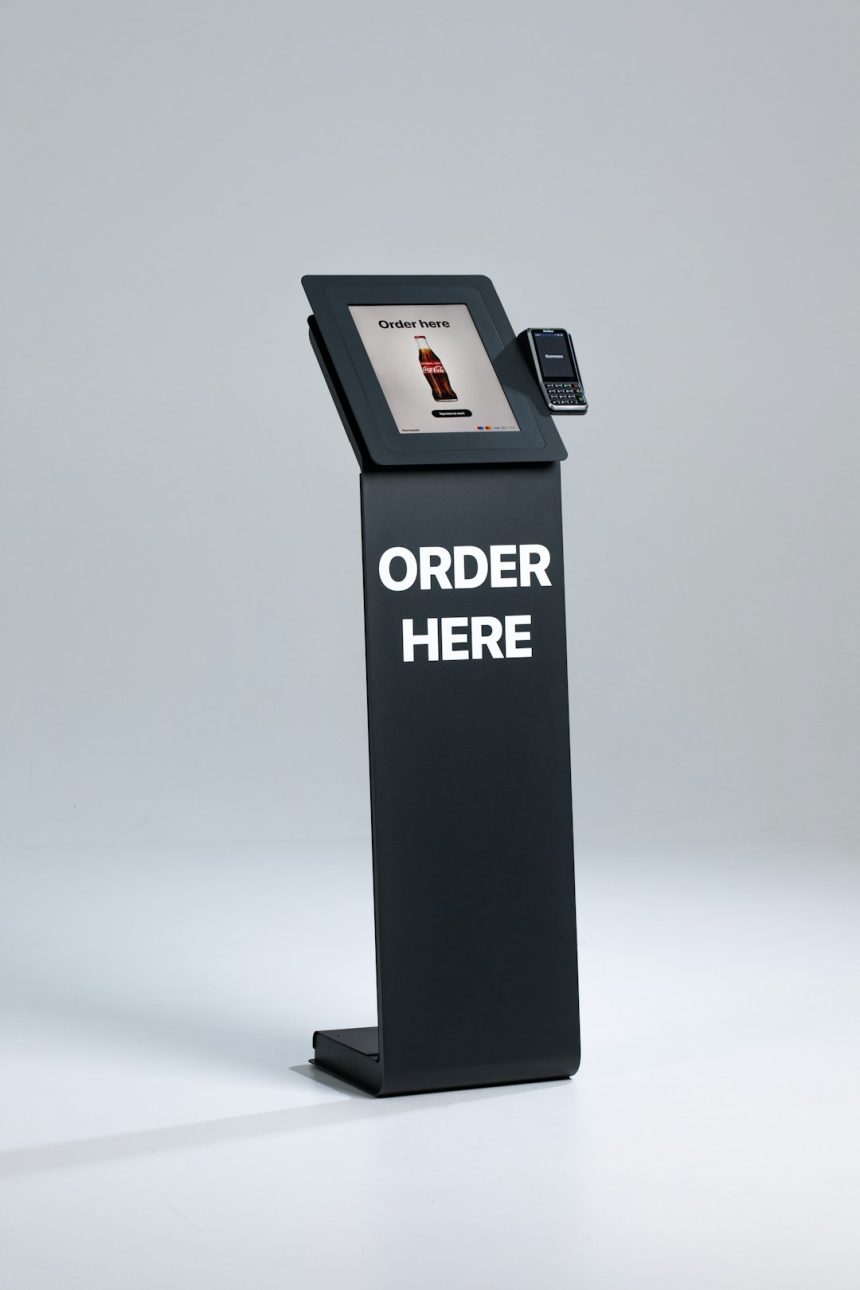
A PowerPoint presentation can run like a self-playing display when it is configured to advance slides automatically and restart after the final slide. This is useful for trade shows, reception screens, classroom stations, museum exhibits, lobby monitors, and unattended event displays where no one is available to press a key or click a mouse.
TLDR: To make a PowerPoint presentation loop automatically, the creator should set slide timings, enable automatic slide advancement, and turn on the Loop continuously until Esc option in Slide Show settings. For a fully unattended setup, the presentation can also be saved as a PowerPoint Show file and run in kiosk mode. Before using it in public, the slideshow should be tested from beginning to end to confirm that animations, videos, and slide transitions run smoothly without user input.
Why Use an Automatically Looping PowerPoint?
An automatically looping PowerPoint is designed to run continuously without manual control. Instead of requiring a presenter to click through slides, the file advances on its own using predefined timings. When the last slide finishes, PowerPoint returns to the first slide and begins again.
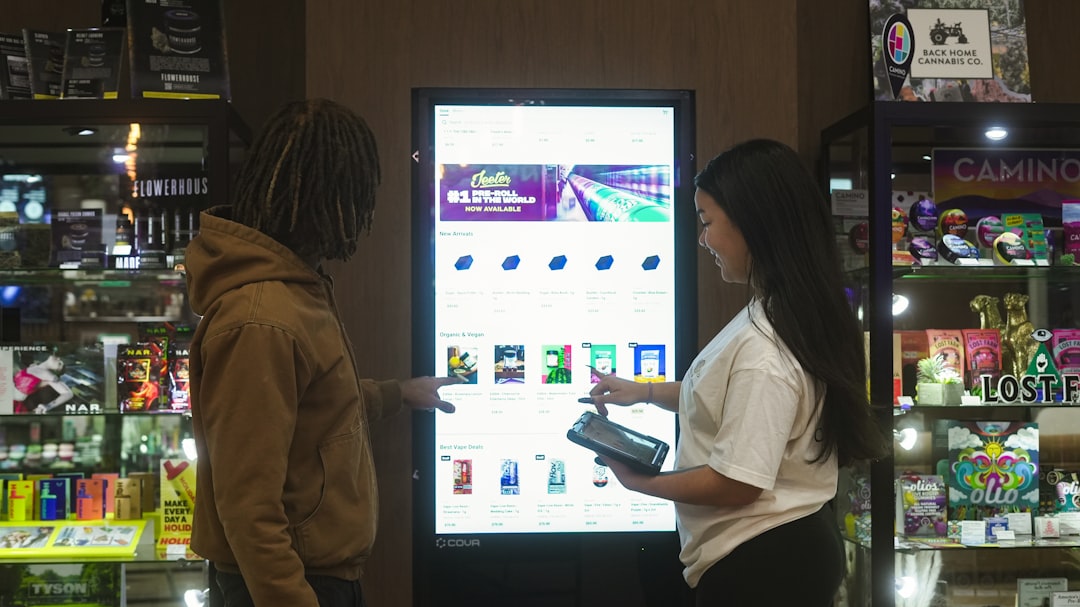
This setup is especially helpful when information needs to be repeated throughout the day. A company might use it to display product features at an exhibition booth. A school might use it to show event schedules on a hallway monitor. A business lobby might use it to welcome guests, share announcements, or highlight services.
The main advantage is consistency. Each viewer sees the same sequence, at the same pace, without relying on a person to manage the presentation.
Step 1: Prepare the Slides for Automatic Playback
Before changing slideshow settings, the presentation should be designed for unattended viewing. Slides need to be clear, readable, and paced properly. Since no one will explain the content, each slide should communicate its point quickly and visually.
- Use large text: Viewers may be standing several feet away from the screen.
- Keep slides simple: One main message per slide is usually best.
- Use consistent branding: Colors, fonts, and layouts should look unified.
- Avoid clutter: Too much text can make an automated presentation hard to follow.
- Check media files: Videos, audio, and animations should be embedded or properly linked.
If the presentation includes video, the creator should make sure the video is set to play automatically. Otherwise, the slideshow may reach that slide and stop waiting for user interaction.
Step 2: Set Slides to Advance Automatically
The key to a hands-free PowerPoint presentation is automatic slide advancement. This tells PowerPoint how long each slide should remain visible before moving to the next one.
To set automatic timings, the creator can follow these steps:
- Open the PowerPoint file.
- Select the Transitions tab.
- Find the Timing section on the right side of the ribbon.
- Uncheck On Mouse Click if no manual click should be required.
- Check After and enter the desired time for the slide, such as 00:08.00 for eight seconds.
- Click Apply To All if every slide should use the same timing.
Some presentations need different timings for different slides. For example, a slide with only a logo may need three seconds, while a slide with instructions may need fifteen seconds. In that case, the creator should set the After timing slide by slide rather than applying one timing to all slides.
Step 3: Use Rehearse Timings for a Natural Pace
PowerPoint includes a useful feature called Rehearse Timings. This tool allows the presentation creator to play through the slideshow and record how long each slide remains on screen. It is especially helpful when the ideal pacing is not obvious.
To use it, the creator should go to the Slide Show tab and choose Rehearse Timings. PowerPoint will start the presentation and track the time spent on each slide. When the rehearsal ends, PowerPoint asks whether to save the recorded timings. If accepted, those timings become part of the presentation.
This approach often creates a more natural viewing experience than assigning the same number of seconds to every slide.
Step 4: Enable Continuous Looping
Once the slides advance automatically, the next step is to make sure the presentation restarts after the final slide. This is controlled in the slideshow setup options.
The creator should follow these steps:
- Go to the Slide Show tab.
- Select Set Up Slide Show.
- In the dialog box, check Loop continuously until Esc.
- Under Advance slides, choose Using timings, if present.
- Click OK to save the settings.
This setting tells PowerPoint to continue playing the slideshow again and again until someone presses the Esc key. Without this option, the slideshow will stop after the final slide.

Step 5: Consider Kiosk Mode for Unattended Displays
For displays that should not be interrupted easily, PowerPoint offers kiosk mode. This mode is designed for presentations that run at a booth, station, or public screen. It limits user control and relies on automatic timings or clickable action buttons.
To enable kiosk mode, the creator should open Set Up Slide Show and choose Browsed at a kiosk full screen. PowerPoint will automatically select the looping option because kiosk presentations are intended to run continuously.
Kiosk mode is useful when a presentation is displayed on a public monitor, but it should be tested carefully. If slides do not have timings, the slideshow may not advance as expected. Every slide must be configured to move forward automatically unless interactive buttons are intentionally used.
Step 6: Save the File for Easy Playback
To make the presentation easier to launch, the creator can save it as a PowerPoint Show file. This file type opens directly in slideshow mode instead of editing mode.
To do this, the creator should select File, then Save As, and choose PowerPoint Show with the .ppsx extension. When opened, the file starts playing immediately, which is helpful for staff members who only need to start the loop without changing any settings.
For a display computer, the file can also be placed in a startup folder or launched manually each morning. If the slideshow needs to run all day, the computer’s sleep settings should be adjusted so the screen does not turn off unexpectedly.
Step 7: Test the Loop Before Using It
A looping presentation should always be tested under the same conditions in which it will be used. The creator should run it from start to finish, watch the transition from the final slide back to the first slide, and confirm that nothing pauses or requires a click.
Important items to check include:
- Slide timings: Each slide should stay on screen long enough to be understood.
- Animations: Animated elements should start automatically.
- Videos: Video clips should autoplay and finish before the slide advances.
- Audio: Sound should not restart awkwardly during each loop unless intended.
- Readability: Text should be visible from the expected viewing distance.
Common Problems and Fixes
If a PowerPoint loop does not work correctly, the cause is usually one of a few common settings. If the slideshow stops after the final slide, the Loop continuously until Esc option may not be enabled. If slides do not advance, automatic timings may be missing or On Mouse Click may still be selected.
If a video does not play, the video playback setting should be changed to Automatically. If the display turns off, the computer’s power and sleep settings should be adjusted. For public screens, it is also wise to disable notifications so pop-ups do not appear over the presentation.
FAQ
-
How does a PowerPoint presentation loop automatically?
It loops automatically when slide timings are enabled and the Loop continuously until Esc option is selected in the Slide Show setup menu. -
Can different slides have different timings?
Yes. Each slide can have its own After timing under the Transitions tab, which is useful when some slides need more reading time than others. -
Why does the slideshow stop instead of looping?
The looping option may not be turned on, or the presentation may be set to advance only by mouse click. The creator should check both settings. -
What is the best file type for an automatically playing presentation?
A .ppsx PowerPoint Show file is often best because it opens directly in slideshow mode. -
Can a looping PowerPoint run all day?
Yes, provided the computer remains powered on, sleep mode is disabled, and the presentation has been tested for reliable looping.