
The simplest way to convert a Word document into a fillable PDF is to design the form in Word first, export it to PDF, then add interactive fields in a PDF editor such as Adobe Acrobat, Foxit PDF Editor, PDFgear, Nitro, or similar software. Word is great for layout. A PDF editor is where the actual fillable fields, checkboxes, and dropdowns become reliable.
TLDR: Build the form structure in Word using tables, labels, blank spaces, and clear sections, then save it as a PDF and add form fields in a PDF editor. For example, a small HR team can turn a two-page onboarding form into a fillable PDF in about 20 minutes, cutting printing and scanning work by 70% or more. If your form includes yes/no choices, use checkboxes; if users must pick one item from a list, use dropdowns or radio buttons. Always test the final PDF before sending it out.
Why Start in Word?
Word is often the easiest place to build the visual structure of a form. You can control headings, spacing, tables, logos, instructions, and page breaks without much fuss. It is also familiar, which matters when a manager emails you a messy .docx file and says, “Can you make this fillable by this afternoon?”
The catch is that Word’s own form controls do not always survive cleanly when exported to PDF. A checkbox in Word may look fine, but it may not work as a clickable checkbox in the final PDF. That is why the smarter workflow is simple: use Word for design, then use a PDF editor for interactivity.
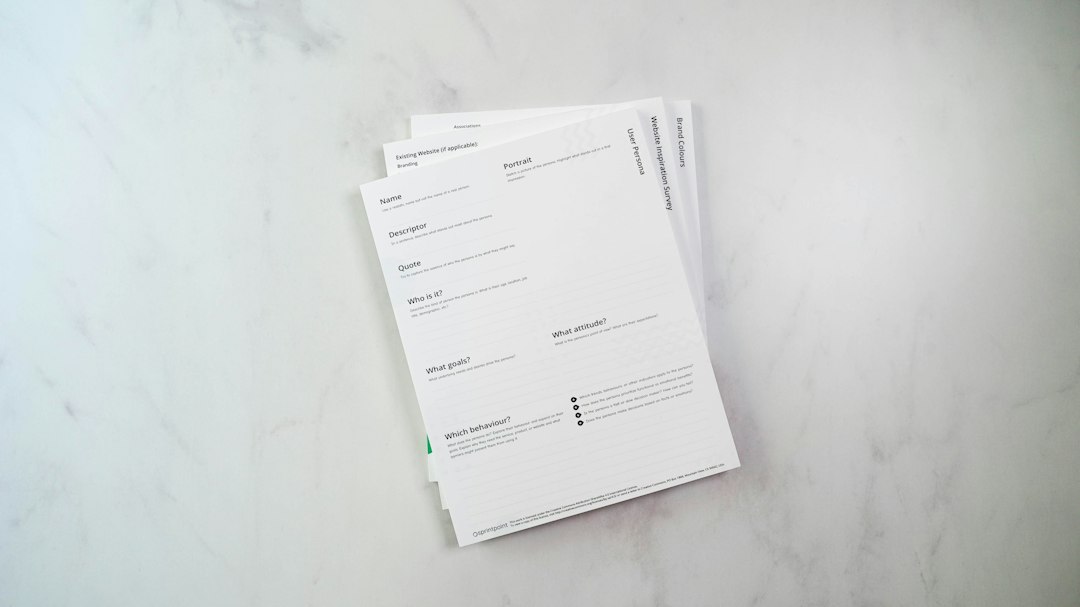
Step 1: Clean Up the Word Document First
Before converting anything, make the Word file neat. This saves headaches later. A sloppy layout can cause fields to shift, overlap, or look strange after export.
Focus on these items:
- Use tables for alignment. Tables keep labels and answer areas lined up neatly.
- Add clear labels. Use labels such as Full Name, Email Address, and Start Date.
- Leave enough room for answers. Short lines are annoying when someone has a long name or address.
- Use consistent spacing. Uneven gaps make a form feel unfinished.
- Keep instructions short. Nobody wants a form that reads like a policy manual.
If the form will be used on phones or tablets, avoid tiny text and cramped boxes. A font size of 10 or 11 points may look fine on your monitor, but it can feel painful on a smaller screen.
Step 2: Decide Which Fields You Need
Not every blank area should be a plain text box. Choose the field type based on what the user must enter.
- Text fields: Best for names, addresses, job titles, notes, and account numbers.
- Checkboxes: Best for yes/no answers or items where users may select more than one option.
- Radio buttons: Best when users must choose only one option, such as Full time or Part time.
- Dropdowns: Best for fixed lists, such as departments, states, countries, office locations, or product categories.
- Date fields: Best for birth dates, appointment dates, deadlines, and start dates.
- Signature fields: Best for approvals, consent forms, contracts, and HR documents.
Honestly, it feels like half the battle is choosing the right field type. If you use text boxes for everything, you will get typos, random formats, and odd answers. Dropdowns and checkboxes keep responses cleaner.
Step 3: Export the Word File to PDF
Once the Word document is ready, export it as a PDF. In Microsoft Word, go to File > Save As or File > Export, then choose PDF. On a Mac, you can also use File > Save As and select PDF as the file format.
Use a clear file name, such as Employee Intake Form Fillable Draft.pdf. Avoid vague names like final final new.pdf. Everyone has done it. Everyone regrets it later.
After saving, open the PDF and scan every page. Check for broken spacing, missing logos, awkward page breaks, and tiny text. If something looks wrong, fix it in Word and export again. Do this before creating fields, because rebuilding fields after every design change gets old fast.
Step 4: Add Fillable Fields in a PDF Editor
Now open the PDF in a tool that can create forms. Adobe Acrobat is the common choice, but it is not the only one. Foxit PDF Editor, Nitro PDF, PDFgear, and other editors can also add interactive fields.
In Acrobat, the feature is usually found under Prepare Form. The software may detect blank lines and boxes automatically. Sometimes it works well. Sometimes it adds a text field where a checkbox should be, then proudly pretends it helped. Expect to spend a few extra minutes cleaning up the auto-detected fields.
Place each field over the correct area. Resize it so it fits the line or box. Then set its properties. Field names matter, especially if you plan to collect data later. Instead of names like Text1 or Field 27, use names such as employeeName, contactEmail, or department.
Step 5: Create Checkboxes and Dropdowns Correctly
Checkboxes are simple, but they still need care. Place one checkbox beside each option. If users can select several options, checkboxes are correct. For example, a medical intake form might ask users to select all symptoms that apply.
Use radio buttons when only one answer is allowed. A common example is employment status: Full time, Part time, or Contractor. If you use checkboxes there, someone may select all three. That creates messy data.
Dropdowns are ideal for long fixed lists. A dropdown for 50 U.S. states saves space and reduces spelling errors. In most PDF editors, you can add each list item in the field properties panel. Put the most common choice near the top if the list is short. For long lists, use alphabetical order.
Step 6: Set Required Fields and Formatting
Mark essential fields as required. This is useful for names, emails, dates, signatures, and consent boxes. Required fields help prevent incomplete submissions.
You can also set formatting rules. For example:
- Date format: MM/DD/YYYY or DD/MM/YYYY
- Number format: whole numbers, decimals, or currency
- Character limits: useful for ID numbers or short codes
- Multiline text: helpful for comments or explanations
Be careful with required fields. If every field is required, users may get stuck. Only require what you truly need.
Step 7: Test the Fillable PDF
Testing is not optional. Open the PDF in Adobe Reader, a browser, and at least one other PDF viewer if possible. Some viewers handle forms better than others.
Check these items:
- Can you type in every text field?
- Do checkboxes click on and off?
- Do radio buttons allow only one choice per group?
- Do dropdowns show the correct list?
- Can the file be saved after filling?
- Does the form print cleanly?
- Does it still work after being emailed?
It drives me crazy that some browser PDF viewers display fields slightly differently. A field that looks perfect in one viewer may sit a few pixels too high in another. That tiny shift can make a polished form feel off, so test before sending it to 200 people.

Common Mistakes to Avoid
- Adding fields before the layout is final. Any design change may force you to move fields again.
- Using checkboxes for single-choice questions. Use radio buttons instead.
- Forgetting field names. Clean names make data export easier.
- Making text boxes too small. Users need room to type real answers.
- Skipping mobile testing. Many people fill forms on phones now.
- Locking the file too early. Security settings can stop users from saving entries.
Free and Low-Cost Options
If you do not have Adobe Acrobat, you still have choices. LibreOffice can export forms to PDF, though setup takes patience. PDFgear offers form tools in some versions. Online PDF form builders can help with quick jobs, but be careful with private data. Do not upload tax forms, medical forms, legal contracts, or employee records to a random site.
For business use, a paid desktop PDF editor is usually worth it. If your team processes 100 forms a month and each fillable PDF saves five minutes, that is more than eight hours saved monthly. That is a full workday back.
Best Workflow to Remember
- Design the form in Word.
- Export it as a PDF.
- Add fields in a PDF editor.
- Set checkboxes, dropdowns, and required fields.
- Test the PDF in multiple viewers.
- Save a master copy before sharing.
A good fillable PDF feels easy for the person completing it. That is the real goal. Keep the layout clean, guide users with clear labels, and choose field types that prevent bad answers. Do that, and your old Word document becomes a polished, practical form people can complete without printing, scanning, or swearing at their office printer.