A disc resurfacer machine saves a worn brake disc by shaving it flat again. It removes tiny layers of metal. The goal is simple. Make the disc smooth, even, and safe to use.
TLDR: A disc resurfacer machine spins a brake disc and cuts away a very thin layer to fix light grooves, rust, and small thickness changes. For example, a shop may remove 0.10 mm to 0.25 mm from each side to stop brake pedal vibration. If the disc is cracked, too thin, or badly heat damaged, replace it. Measure first, cut slowly, and keep hands, sleeves, and dust far away.
What Is a Disc Resurfacer Machine?
A disc resurfacer machine is also called a brake lathe. It is used on brake rotors. Those are the shiny metal discs your brake pads squeeze to stop the car.
Over time, rotors get rough. They can pick up grooves. They can rust. They can wear unevenly. Then your brakes may squeal, shake, or feel grabby. Nobody enjoys that. It drives me crazy that one tiny uneven spot can make the whole steering wheel dance.
The machine fixes this by cutting the rotor surface. Not a big chunk. Just a thin skim. Think of it like peeling a carrot, but with steel, noise, and safety glasses.
How Disc Resurfacer Machines Work
The idea is easy.
- Clamp the disc in place.
- Spin the disc at a steady speed.
- Move cutting tips across the faces.
- Remove a tiny layer of metal.
- Leave a flat, clean finish.
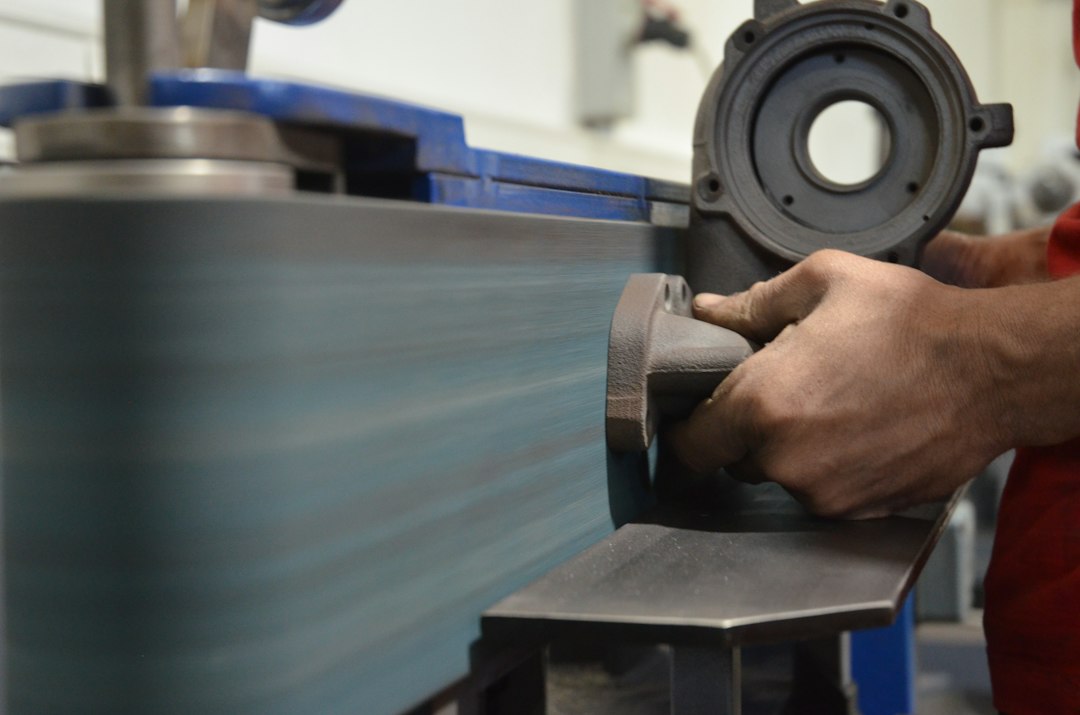
Most machines use sharp cutting bits. Some use abrasive pads for a final finish. The cutting head moves slowly from the outer edge toward the center, or the other way around. The feed must be smooth. If it chatters, the disc gets ugly marks. Then you get to do it again. Fun? Not really.
There are two main styles.
1. Off-Car Disc Resurfacer
This type sits on a bench or stand. You remove the rotor from the vehicle. Then you mount it on the machine using cones, spacers, and adapters. This style is common in garages and machine shops.
It is great for loose rotors. It also gives good access. The annoying part is setup. If the adapters are dirty or crooked, the cut can be wrong. Expect to waste time cleaning parts that look “clean enough” but are not.
2. On-Car Disc Resurfacer
This type mounts to the vehicle hub. The rotor stays on the car. The machine cuts the rotor in the same position it uses on the road.
This can help reduce runout. Runout means the disc wobbles side to side as it spins. Even a tiny wobble can cause brake pedal pulsing.
Which Disc Problems Can It Address?
A disc resurfacer is useful. But it is not magic. It cannot bring a dead rotor back from the metal graveyard.
Problems It Can Usually Fix
- Light grooves: These come from grit, wear, or tired brake pads.
- Minor scoring: Shallow scratches can often be cut away.
- Small thickness variation: Uneven thickness can cause brake shake.
- Light rust: Surface rust can be removed if the disc is still thick enough.
- Glazing: A shiny surface can be freshened so pads bite better.
- Small runout issues: Especially with an on-car machine.

Problems It Cannot Safely Fix
- Cracks: Replace the disc. No debate.
- Deep heat damage: Blue spots and hard patches may return fast.
- Severe warping: Too much metal may need to be removed.
- Below minimum thickness: The rotor is done.
- Heavy pitting: Deep rust pits may stay after cutting.
- Missing chunks: Yes, it happens. No, do not machine it.
Every rotor has a minimum thickness specification. It may be stamped on the rotor hat. It may also be in the service manual. If the rotor will be thinner than this after cutting, replace it.
Why Thickness Matters
Brake discs handle heat. Lots of heat. A thinner rotor holds less heat. It can overheat faster. It can fade. It can crack. It can also wear pads faster.
So measure before cutting. Then measure again after cutting. Use a micrometer, not a guess. A ruler is not good enough. Your thumb is not a measuring tool, even if it has confidence.
Basic Steps for Using a Disc Resurfacer
Always follow the machine manual. Each model has its own controls. Still, the basic flow is similar.
- Inspect the rotor. Check for cracks, heavy rust, and heat marks.
- Measure thickness. Compare it with the minimum allowed thickness.
- Clean the mounting surfaces. Dirt causes wobble.
- Mount the rotor. Make sure it sits square and tight.
- Set the cutting bits. Touch both disc faces evenly.
- Take a light first pass. Do not get greedy.
- Check the finish. Look for chatter, grooves, or shiny low spots.
- Make a final light pass. Aim for a smooth, even surface.
- Clean the rotor. Use brake cleaner and a lint-free cloth.
- Recheck thickness. Confirm it is still safe.
The final surface should not look polished like a mirror. It should have a fine, even pattern. This helps the new pads bed in. Many shops use a non-directional finish after cutting. That means fine marks that do not run in one hard direction.
Simple Safety Rules
This machine spins metal. Treat it with respect.
- Wear eye protection. Metal chips are tiny troublemakers.
- Use hearing protection. Some cuts squeal.
- Avoid loose clothing. Sleeves, cords, and jewelry can snag.
- Do not wear loose gloves near spinning parts.
- Keep hands away from the disc. Wait until it stops.
- Use guards if fitted. They exist for a reason.
- Control brake dust. Do not blast dust with compressed air.
- Keep the area clean. Slips near spinning tools are bad news.
Brake dust can contain nasty particles. Wet wipe it or use approved cleaning methods. If your shop has dust collection, use it. No one needs mystery powder in their lungs.
Common Mistakes
- Cutting too deep: This can ruin a good rotor fast.
- Skipping measurement: That is how unsafe rotors happen.
- Mounting on dirty adapters: Dirt creates false runout.
- Using dull bits: Dull cutters make chatter marks.
- Ignoring hub rust: The rotor may sit crooked after install.
- Resurfacing when replacement is smarter: Some rotors are cheap. Time is not.
When Should You Replace Instead?
Replace the disc if it is near minimum thickness. Replace it if it is cracked. Replace it if deep grooves remain after a safe cut. Also replace it if machining costs more than a new rotor. That happens a lot on small cars.
A resurfacer is best when the rotor has enough metal left and the damage is mild. It is also handy when new rotors are costly or hard to find.
Final Takeaway
A disc resurfacer machine is a neat bit of shop wizardry. It spins a brake disc and trims it flat. Used well, it can stop vibration, reduce noise, and give brake pads a fresh surface. Used badly, it can make an unsafe rotor look pretty.
Measure first. Cut light. Stay safe. Replace when needed. That is the whole game.