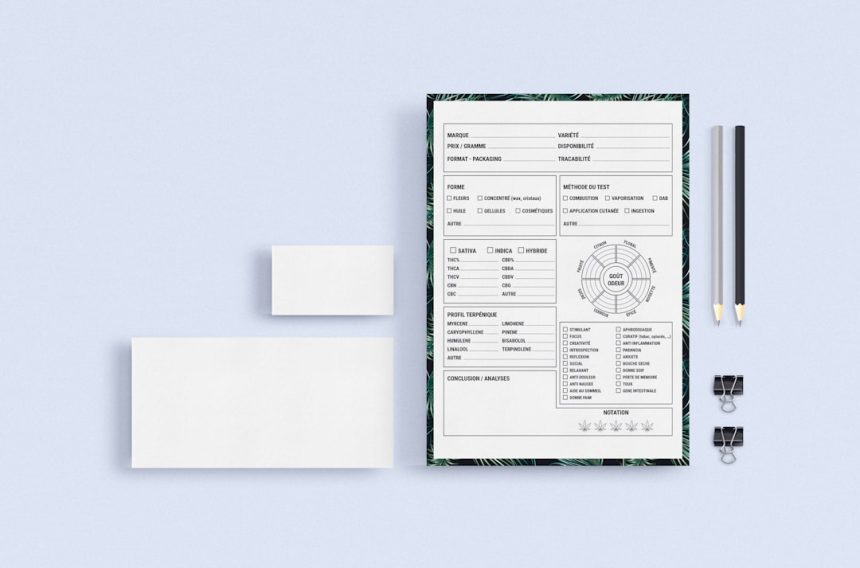
Have you ever needed to collect information from people quickly and efficiently? Whether for work, school, or fun events, fillable forms make life easier. And guess what? You don’t need to be a tech genius to make one in Adobe Acrobat!
TL;DR: Adobe Acrobat lets you easily turn any document into a fillable form. Choose your file, open the Prepare Form tool, and start adding fields like text boxes and checkboxes. It’s drag-and-drop simple. Save it and send it — boom, you’re done!
Step 1: Get Adobe Acrobat (Not Just the Reader!)
This is important. You can’t create a fillable form in the free Acrobat Reader. You need Adobe Acrobat Pro DC. It’s the version with all the editing tools. If you’re not sure which one you have, think about this: can you edit PDFs? If not, upgrade time!
You can get a free trial if you just want to test it out. Visit Adobe’s website and download Adobe Acrobat Pro DC. Install it, and you’re good to go.
Step 2: Choose a File to Turn into a Form
You can start with:
- A regular PDF
- A scanned document
- Even a Word file (it’ll get converted to PDF automatically)
Make sure your form looks nice and clean before adding fields. It’s easier to build fields on a neat layout. Open your file in Acrobat Pro DC.
Step 3: Open the “Prepare Form” Tool
This is the magic wand of form-making. Here’s how to find it:
- Click Tools in the top menu.
- Select Prepare Form from the list.
- Choose your file, then click Start.
Acrobat will try to guess where the form fields go. Sometimes it’s right — sometimes not so much. But that’s okay. You can move, delete, or add more fields yourself.

Step 4: Add Form Fields
Now the fun begins! On the top toolbar, you’ll see boxes with different icons. These are your form tools. You can add:
- Text field: For names, emails, or short answers
- Checkbox: Let users pick yes/no or agree/disagree options
- Radio button: Only one option can be chosen from a group
- Dropdown: Great for lists or selecting from multiple choices
- Signature fields: So someone can “sign” digitally
Click on a tool, then click where you want the field on the form. Resize it by dragging the edges. You can move it to get the perfect alignment. Want to make it look extra sharp? Use the alignment tools at the top.
Step 5: Name and Customize Each Field
When you add a form field, a settings box pops up. Here’s what to do:
- Field Name: This is internal — it won’t show up on the form
- Tooltip: Give users a helpful tip (e.g., “Enter your full name here”)
- Required Field: Check the box if users must complete that one
You can click on any field anytime to change its settings. Want to copy and paste? Ctrl+C and Ctrl+V works — super useful when fields need to be the same size or type.
Step 6: Add Fancy Touches (Optional, but Fun!)
You can keep it simple or snazz it up. Try:
- Adding colors to fields
- Using custom fonts
- Auto-calculations (like adding up numbers)
Want to make a quiz or order form? Set fields to calculate totals or give feedback right inside the form!
Step 7: Preview and Test Your Form
Before saving, check how your form looks to users:
- Click the little eye icon on the top toolbar (that’s Preview Mode)
- Try filling out every field
- Make sure things look good and work!
Oops, found a mistake? Click the Select tool (arrow icon) to go back and edit. Preview again until it’s perfect!
Step 8: Save and Share the Form
Okay, now save your masterpiece. Here’s how:
- Click File > Save As.
- Choose where to save it, and give it a name like “Event-Registration-Form.pdf”.
You can now send this PDF by email, upload it to a website, or use Acrobat’s Send for Signature feature to track who’s completed it.
Bonus: Tips for Better Forms
- Keep it short: Long forms scare people; stay focused.
- Use clear labels: People should know exactly what to enter.
- Test on different devices: Make sure it works well on both desktops and tablets.
Got a Scanned Form? No Problem!
If your form is scanned or an image, Acrobat can still handle it:
- Open the scanned file.
- Select Prepare Form.
- Acrobat uses OCR (Optical Character Recognition) to convert it into editable text.
You may need to tweak a few things, but it works surprisingly well!
Common Questions (FAQs)
Q: Can others fill out the form without Adobe Acrobat?
A: Yes! Anyone can open and fill it using the free Acrobat Reader. Just make sure it’s saved as a fillable form.
Q: Can I password-protect my form?
A: Absolutely. Go to File > Protect Using Password to lock editing or viewing.
Q: How do I collect responses?
A: People can save the filled-in form and email it to you. Or use Adobe’s built-in tracking and collection tools under Send for Signature.
Wrap-Up: You’re Now a Fillable Form Pro!
See? Not too scary at all. With just a few clicks and a little creativity, you can make slick, professional-looking forms right in Adobe Acrobat.
Collect RSVPs, employee info, customer feedback — the sky’s the limit. So what will you make next?
Happy form-making!


