
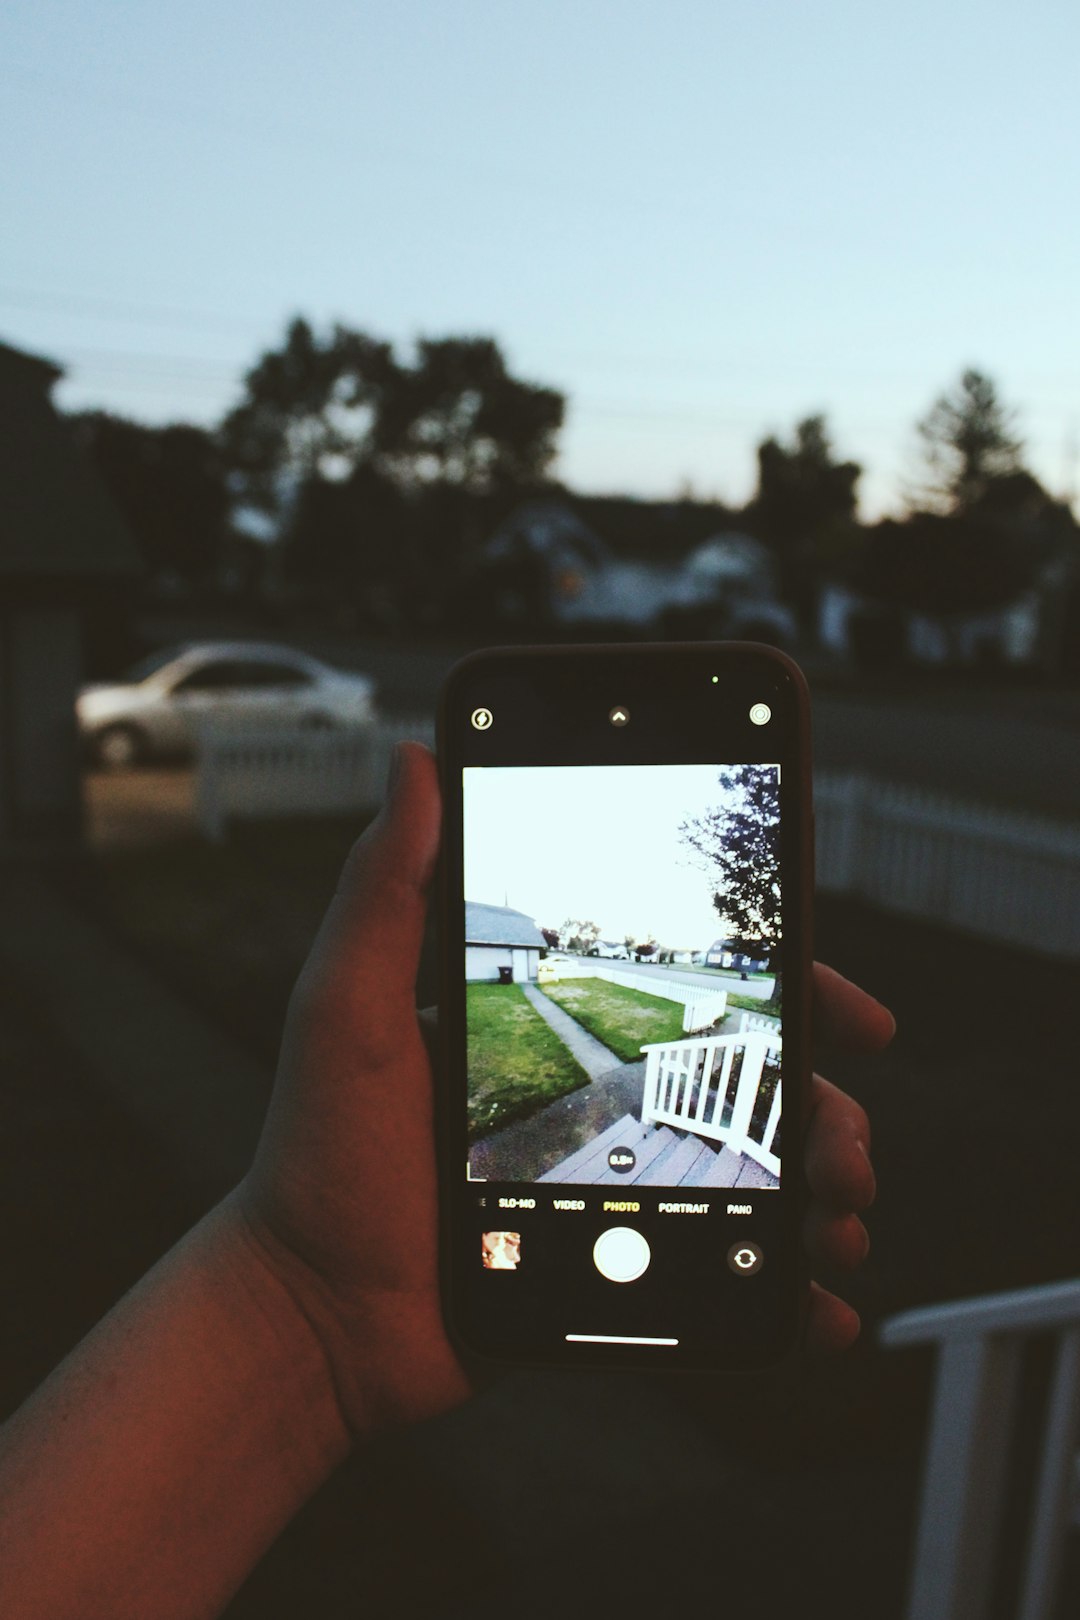
Instagram is the perfect platform for sharing your visual creativity, especially when it comes to breathtaking landscape photography. Yet, one of the biggest challenges photographers face is preserving the beauty of a wide scene within the constraints of Instagram’s dimensions. Posting landscape photos—whether of oceans, mountains, deserts, or forests—requires a few strategic decisions to ensure they shine in the feed.
TL;DR
Instagram has specific size requirements that can make posting landscape photos tricky. To maintain quality and aspect ratio, edit your image for the platform first—preferably in photo editing software. Use the 4:5 vertical crop on your feed and consider carousels to share fuller landscape scenes. Tag your location, use relevant hashtags, and post at optimal times to engage your audience.
1. Understand Instagram’s Aspect Ratio Limits
Before uploading, it’s essential to know that Instagram will automatically crop or resize your images if they don’t fit within its accepted aspect ratios.
- Square: 1:1 (1080 x 1080 pixels)
- Portrait (Recommended): 4:5 (1080 x 1350 pixels)
- Landscape (Horizontal): 1.91:1 (1080 x 566 pixels)
That last ratio (1.91:1) is the Instagram standard for horizontal images, but it’s also the most limiting as it makes your landscapes look small in the feed compared to vertical modes. If your goal is to command attention while showing wide scenes, you may want to rethink how you approach your landscape posts.
2. Choose the Right Format for Impact
Although landscapes are usually wide and horizontal, you should consider how to maximize screen real estate on phones, where Instagram is primarily viewed. Here’s how:
- Crop landscape images into a 4:5 portrait format so they take up more screen space. This may cut off some of the scene but often increases engagement because the photo appears larger.
- Use Instagram carousels to upload a panoramic landscape across multiple frames.
- Add borders to landscape photos to fit them into a 4:5 ratio without cropping. This approach retains the full image while optimizing its presence.
Apps like Canva, InShot, and Adobe Lightroom mobile make it easy to add subtle white or black borders around your image with custom dimensions.
3. Edit with Mobile in Mind
Even if you shoot on a DSLR or mirrorless camera, your final photo needs to be optimized for mobile viewing. That means:
- Boost clarity and contrast so small details are still visible on small screens.
- Enhance saturation and warmth if needed to make your photo pop—but don’t overdo it. Natural landscapes often benefit from subtle editing.
- Sharpen the photo slightly before export; Instagram compression can soften fine details.
Make sure to export your photo at 1080 pixels wide at the required height depending on your format to ensure sharpness and clarity remain intact after Instagram’s compression.
4. Export and Resize Properly
Post-processing isn’t complete without properly exporting your image. Keeping Instagram’s limits in mind, here are the ideal sizes for landscape photos:
- For 1.91:1 (landscape): 1080 x 566 pixels
- For 4:5 (portrait): 1080 x 1350 pixels
- For multiple images (carousel): Keep all at the same height/width ratio
Select “highest quality” settings in Lightroom, Photoshop, or whichever editor you’re using, and avoid letting Instagram resize by uploading properly sized images yourself.
5. Tell a Story with Carousel Posts
Using Instagram’s carousel feature, you can break a single panoramic image into 2-3 slides. This lets your audience swipe to experience the full breadth of your photograph, mimicking a scrollable experience.
Here’s how to do it effectively:
- Edit your landscape photo at a very high resolution.
- Slice it into vertical sections using Photoshop, GIMP, or apps like Panorama Crop.
- Post each slice in order in the same carousel so the transition appears seamless when swiped.
This format compels users to spend more time engaging with each part of the photograph, which positively affects your post’s reach within Instagram’s algorithm.

6. Use Captions to Enhance Visual Engagement
While the photo is the hero, a well-written caption gives your audience context, increasing both emotional impact and engagement. Share a short story about the location, trail, or your feelings while taking the photo.
Tips for an effective caption:
- Start with a hook that grabs attention.
- Describe the location or backstory to add depth to the photo.
- Ask a question at the end to encourage comment interaction.
Example:
“This was taken 6 hours into a foggy hike through Yosemite. The trail was rough, the air crisp, but this view made it all worth it. Would you hike here for a photo like this?”
7. Tag Locations and Use Hashtags Wisely
Instagram’s algorithm also relies heavily on metadata to surface your content. That includes:
- Location tags: Always tag where the photo was taken. These tags also have their own searchable feeds.
- Relevant hashtags: Use niche and general hashtags related to photography, landscapes, gear, and location.
Here are a few effective hashtag ideas:
- #landscapephotography
- #earthfocus
- #getoutside
- #wildernessculture
- #natgeo
- #nationalparks
- #sonyalpha or #canonphotography (brand-specific)
Avoid using 30 broad hashtags every time. Instead, rotate hashtags based on theme and location to keep your reach organic.
8. Track the Best Time to Post
Timing matters when posting landscape photos, particularly if you’re aiming for maximum engagement. According to recent insights, the best times generally include:
- Weekday mornings between 7–9 AM
- Sunday evenings between 6–8 PM
Use Instagram Insights (available on Business or Creator accounts) to find out when your specific audience is most active, and schedule your posts accordingly using tools like Later or Buffer.
9. Engage with Your Audience After Posting
After posting your landscape shot, don’t just log off. Stick around and:
- Reply to comments in the first hour—this signals strong engagement.
- Like and comment on others’ posts in similar niches to stay visible.
- Use Stories to share behind-the-scenes images or your editing process to deepen connections.
Instagram isn’t just a gallery; it’s a community. Engaging authentically boosts your visibility and builds your photography brand.
10. Consider Stories and Reels, Too
While the main feed showcases your best shots, Instagram Stories and Reels add more dimension. Post vertical crops of your landscapes with music, text, or behind-the-scenes video clips. These formats encourage interaction and can help tell the full story behind your image.
Conclusion
Posting landscape photos on Instagram is both an art and a strategy. From choosing the right aspect ratio and editing techniques to writing captivating captions and optimizing post timing, each detail contributes to making your image not just seen but appreciated. With these tips, your landscapes won’t just fill a grid—they’ll inspire wanderlust, admiration, and engagement from all who scroll by.


