
The fastest way to add pictures to Instagram is to tap the plus button, choose a photo, crop it for the right format, make light edits, write a clear caption, and publish it as a post, carousel, Story, or Reel cover. For most feed posts, aim for a vertical image at 1080 x 1350 pixels, because it takes up more screen space than a square photo and usually earns more attention.
TLDR: Open Instagram, tap +, select your picture, adjust the crop, edit brightness or color, add a caption, and share. A small business posting a 4:5 product photo, for example, may get better visibility because the image fills more of the phone screen than a 1:1 square. If you post five photos in a carousel, put the strongest image first; users often decide in under 2 seconds whether to swipe. Keep your image at 1080 pixels wide for clean quality without oversized files.
How to Upload a Picture to Instagram
Uploading a photo to Instagram is simple, but the app hides a few useful controls in plain sight. Honestly, it feels like one extra tap always gets added after an update, so it helps to know the exact flow.
- Open Instagram on your phone.
- Tap the plus icon. It may appear at the bottom center or top right, depending on your app version.
- Select Post if you want the photo on your profile grid.
- Choose a picture from your camera roll.
- Tap the crop icon to switch between original size, square, portrait, or other framing.
- Tap Next to edit.
- Add a caption, location, tags, music, or alt text.
- Tap Share.
If you want to upload more than one picture, tap the multiple photo icon, then select up to 10 images or videos. This creates a carousel post. Carousels are useful for tutorials, product shots, travel albums, recipes, event recaps, and before and after examples.
Pick the Right Instagram Photo Format
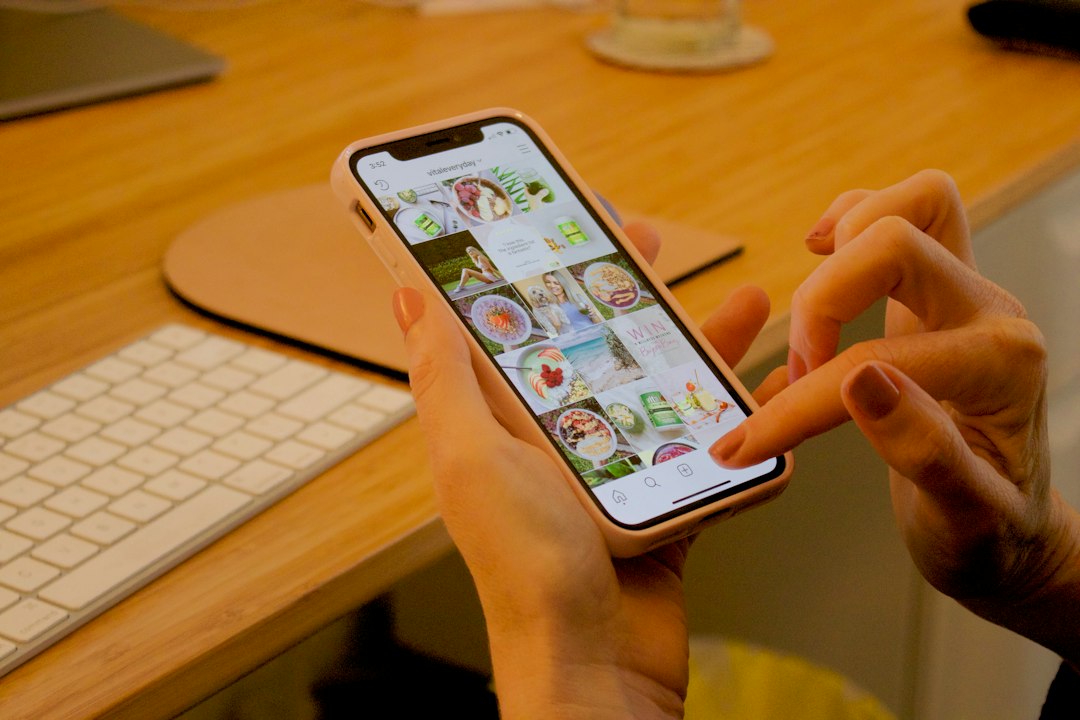
Instagram supports several image shapes, but not all of them perform the same visually. The app is built for phones, so tall images usually stand out more in the feed.
- Square post: 1080 x 1080 pixels, ratio 1:1
- Portrait post: 1080 x 1350 pixels, ratio 4:5
- Landscape post: 1080 x 566 pixels, ratio 1.91:1
- Story image: 1080 x 1920 pixels, ratio 9:16
- Reel cover: 1080 x 1920 pixels, with key details centered
For regular feed posts, 4:5 portrait is often the safest choice. It fills more vertical space without being cropped in the feed. Square posts still work well for logos, quote graphics, food shots, and clean product images. Wide images can look polished, but they appear smaller on phones.
The catch is that Instagram previews profile grid posts as squares. If you upload a portrait photo, keep faces, text, and products near the center. Otherwise, your grid may cut off something awkward.
How to Crop and Reposition Your Photo
After selecting a photo, Instagram shows a preview. Use two fingers to zoom in or out. Drag the picture to reposition it. Tap the crop icon to switch from a forced square to the photo’s original shape.
Before posting, check these details:
- Faces: Keep eyes and expressions away from the edges.
- Text: Avoid placing words too close to the top or bottom.
- Products: Leave breathing room around the object.
- Horizons: Straighten beach, city, or room shots.
- Hands and feet: Watch for accidental cuts at the frame edge.
If Instagram keeps cropping your image in a weird way, edit it before upload. Add a border, resize it to 1080 x 1350, or place the image on a plain background. This saves time and prevents last-second frustration.
Editing Photos Inside Instagram
Instagram has built-in editing tools. They are not full photo software, but they are fine for fast fixes. Tap Edit after selecting your image, then adjust the photo before posting.
- Brightness: Lightens dark images.
- Contrast: Adds separation between light and dark areas.
- Structure: Sharpens texture and small details.
- Warmth: Makes a photo cooler or warmer.
- Saturation: Boosts or reduces color strength.
- Highlights: Controls bright parts of the image.
- Shadows: Brings detail back into darker areas.
- Sharpen: Adds crispness, but use it lightly.
A good rule: make small edits. Try changes between 5 and 20 points instead of pushing sliders to the extreme. Overedited photos can look harsh, especially skin tones, food, sunsets, and interiors.
Filters can help create a consistent style. Still, apply them carefully. Tap a filter again to reduce its strength. A filter set at 30% to 60% often looks more natural than the default full effect.
Best Practices for Clear, Sharp Images
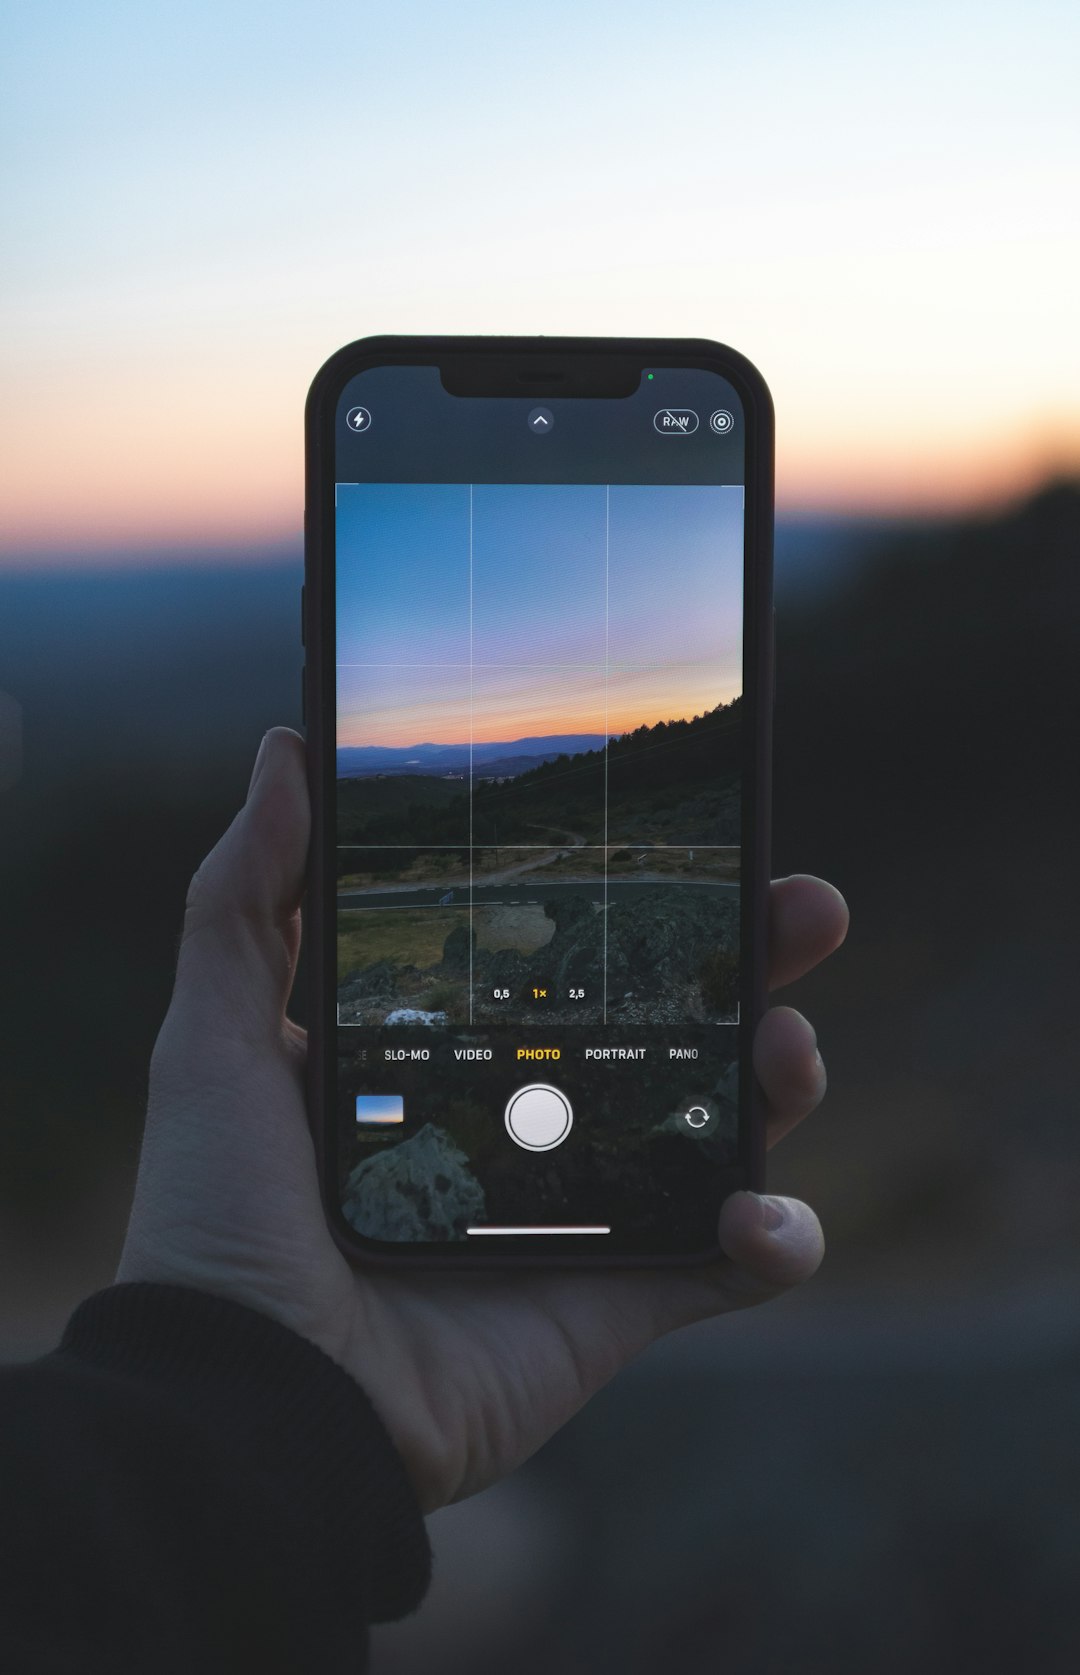
Instagram compresses images after upload. That means huge files will not stay perfect, and tiny files may look blurry. The best approach is to upload at the right size from the start.
- Use 1080 pixels as the image width.
- Export in JPEG for regular photos.
- Use PNG for graphics with text, if needed.
- Avoid screenshots when possible. They often lose detail.
- Do not send images through messaging apps before upload, since they may compress them.
- Turn off heavy beauty filters if they flatten faces or textures.
If your image contains text, keep it large and simple. Thin fonts can become fuzzy after compression. High contrast helps. Black text on white, white text on dark navy, or bold text over a soft background works better than pale text over a busy photo.
Writing the Caption Before You Share
A strong photo gets attention. A strong caption gives people a reason to react. Keep the first line useful because Instagram truncates longer captions in the feed.
Good caption openings include:
- A clear benefit: “Three easy ways to style a small balcony.”
- A question: “Which version would you choose?”
- A short story: “This cake took two tries, one cracked pan, and way too much coffee.”
- A direct offer: “New spring prints are live today.”
Use hashtags if they fit, but do not stuff the caption with dozens of random tags. Around 3 to 8 relevant hashtags is enough for many posts. Mix broad tags with specific ones. For example, a bakery might use #cupcakes, #chicagobakery, and #vanillabuttercream.
Tagging People, Adding Location, and Using Alt Text
Before publishing, Instagram lets you add extra details. These can help context and reach.
- Tag people: Useful for collaborators, photographers, brands, friends, or featured customers.
- Add location: Good for local businesses, events, restaurants, hotels, and travel posts.
- Add music: Available for some feed posts and can add mood.
- Write alt text: Helps users with screen readers understand the image.
Alt text should describe what is visible. Keep it plain. For example: “A ceramic blue coffee mug on a wooden table beside an open notebook.” That is better than keyword stuffing.
Posting Multiple Photos as a Carousel
Carousels are great when one photo is not enough. Use them for step by step guides, outfit angles, real estate rooms, product variations, event highlights, client results, or a mini photo essay.
Put your best or clearest picture first. The first slide needs to stop the scroll. The second slide should reward curiosity. If you are teaching something, use a simple sequence:
- Final result
- Materials or setup
- Step one
- Step two
- Common mistake
- Finished example
It drives me crazy that rearranging carousel images can feel fiddly on a small screen. To avoid mistakes, choose the photos in order before opening Instagram. If needed, rename or favorite them in your phone gallery first.

Quick Checklist Before Posting
- Is the photo sharp at 1080 pixels wide?
- Does the crop work in the feed and profile grid?
- Are faces, text, and products centered enough?
- Are edits natural, not overdone?
- Does the caption make people care?
- Did you tag the right people or place?
- Did you add alt text for accessibility?
Adding pictures to Instagram is easy once you get the format right. Start with the right size, use light edits, check the crop, and post with a caption that gives the image purpose. A cleaner upload process means fewer blurry photos, fewer awkward cuts, and fewer annoying reposts five minutes later.